When it comes to creating your first WordPress website, the whole process can seem daunting, especially if you have limited or no experience with website building. However, building your website with WordPress is quite simple as this platform is user-friendly and provides various tools and themes for customization.
No matter what experience level you have, with basic skills and this guide, you can easily create your very own WordPress site from scratch. So let’s get started!
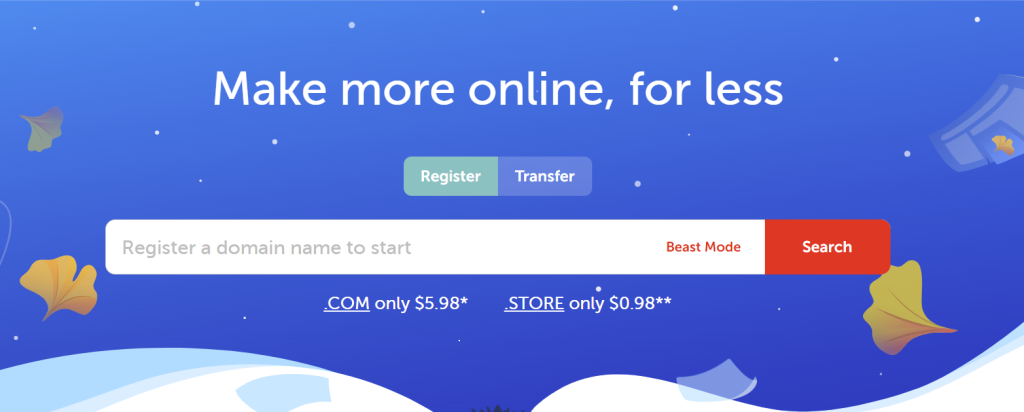
Step 1: Register A Domain
Registering your website domain is like a virtual address for your website. It is the URL that people will type in to access your site. But what are the important things you should consider while registering a domain?
Well, to start off, keep it short, simple, and easy to remember. Including your brand name in the domain would be ideal, but if it’s already taken, you can get creative and use a variation.
Also, make sure to choose the appropriate domain extension for your website. The most common is .com, but other options like .org or .net exist. You can register your domain name from different service providers like GoDaddy, NameCheap, Hostinger, or more.
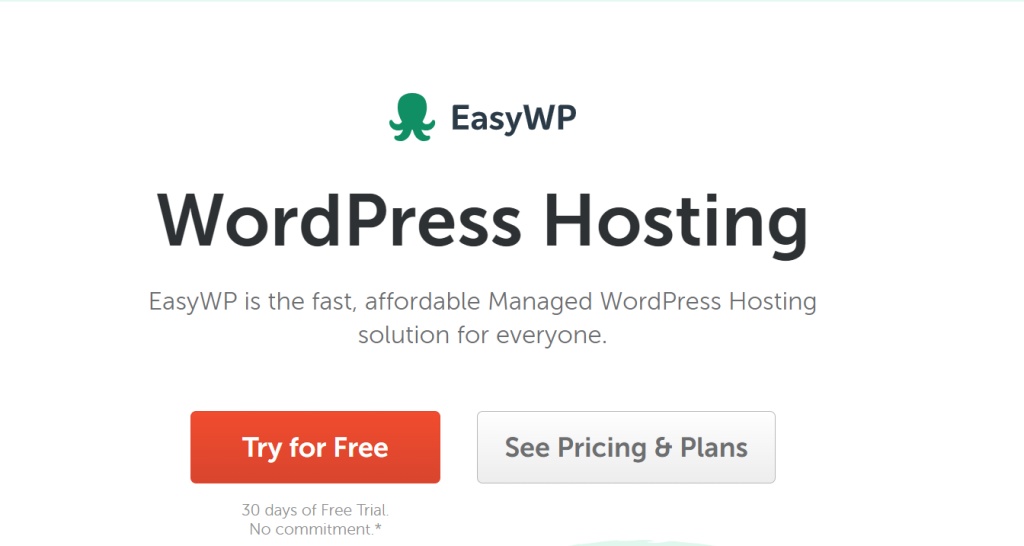
Step 2: Setup Your Hosting
After you are done with domain registration, the next step is to set up your hosting. Web hosting is like a storage unit for your website files and data. Choosing a reliable and secure hosting provider is essential, as it will affect your website’s performance.
Some popular hosting providers for WordPress are Bluehost, SiteGround, and Hostinger. You can select a suitable plan based on your budget and website needs. After purchasing the hosting service, you will receive login details to access your account.
Not sure which hosting to buy? Read our comparison guide on Elementor Vs. Bluehost
Step 3: Connect Domain and Hosting
Now that you’ve secured your domain and hosting, it’s time to connect them. This process involves pointing your domain to your web host’s server, saying, “This is where my website lives.” It might sound technical, but don’t worry; it’s not as complicated as it seems.
First, you must find your web host’s DNS (Domain Name System) settings, which usually look like ns1.yourhost.com and ns2.yourhost.com. This information can typically be found in your hosting account dashboard. Then, log into your domain registrar (where you purchased your domain), find your domain settings, and look for an option like ‘set name servers’ or ‘DNS settings.’
Enter your web host’s DNS settings here and save the changes. The update can take anywhere from a few hours to 48 hours to fully propagate across the internet, so don’t worry if your site isn’t visible immediately.
Step 4: Signup to WordPress
Now that your domain and hosting are all set up, you’re ready to install WordPress. To do this, first log into your hosting account. Look for the WordPress icon on the control panel; this should be titled something like ‘WordPress Installer,’ ‘One-Click Installs,’ or ‘Website/Software Installer.’
Once you’ve found it, click on it. You’ll be guided through the process of installing WordPress. You’ll need to select your domain from a drop-down menu, choose the directory where you want WordPress installed (if you want your whole website on WordPress, leave this blank), and create a username and password.
Write down your username and password — you’ll need these to log into WordPress once installed. Once you’ve filled everything in, click on ‘Install Now’. The installation process may take a few minutes, but you’ll see a success message once it’s done.
Step 5: Log in to WordPress and Choose the Right Theme
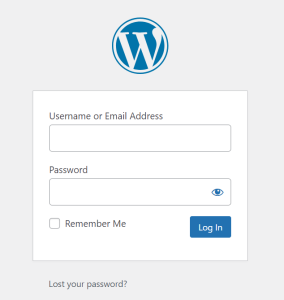
Logging into WordPress is a straightforward process. To start, go to your website’s login URL, which usually follows the format: yourdomain.com/wp-admin. Enter the username and password you created during WordPress installation and click ‘Login.’ You’re now in your WordPress dashboard! This is where all the magic happens, and you’ll spend much time here.
Once logged in, it’s time to choose the right theme for your website. WordPress themes determine the layout, look, and feel of your site.
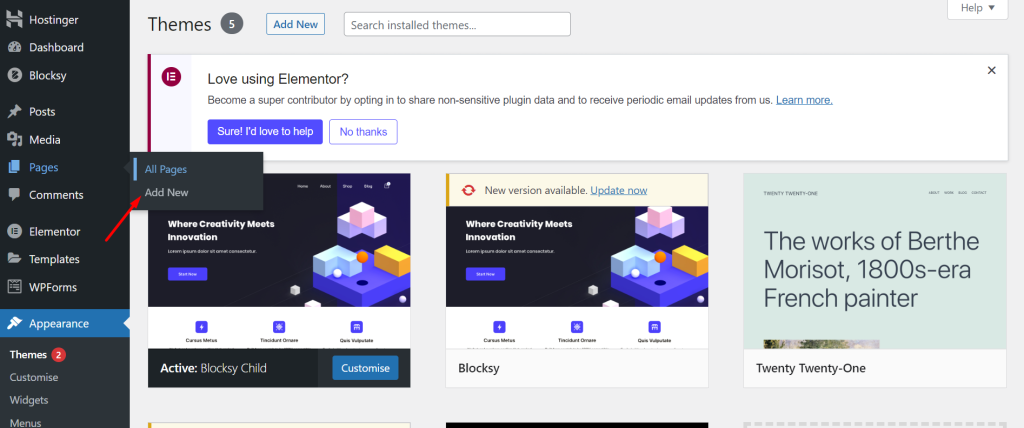
To browse available themes, go to ‘Appearance’ and ‘Themes.’ You’ll see several themes already installed, but you can also add new ones by clicking the ‘Add New’ button at the top. Thousands of free and premium themes are available in the WordPress repository, each offering different features, designs, and customization options.
To choose the right theme, it’s important to consider both aesthetics and functionality. Look for a theme that matches the nature and style of your brand or the purpose of your website but also offers the functionality you need. For instance, if you’re building an e-commerce site, you’ll want a theme compatible with WooCommerce.
Once you have found the right theme, hover your cursor over it, and you’ll see an ‘Install’ button. Click it, and once the theme is installed, the ‘Install’ button will change to an ‘Activate’ button. Click ‘Activate’ to make the theme live on your site. You can always change your theme later, so don’t worry if you’re not completely satisfied with your choice.
Step 6: Start Customizing Your Theme
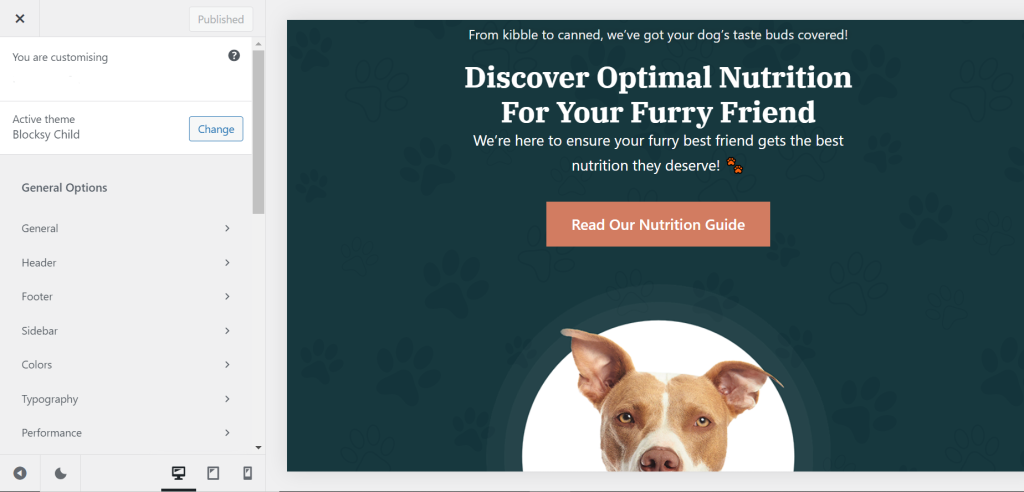
With your theme installed and activated, the fun begins: customizing it to match your vision. Head over to ‘Appearance’ and then click on ‘Customize’. This will open up the WordPress Customizer, a live preview screen for changing your theme’s settings.
Here, you can modify elements like your site’s title and tagline, colors, header images, etc. Each theme has different customization options, so you’ll want to explore every setting. Remember to click the ‘Publish’ button to save any changes you make.
In the WordPress Customizer, you can also tweak your website’s layout. For example, some themes offer layouts for your header, sidebar, and blog posts. If you want to adjust the width of your site, change the background color, or even modify the font size and color, you can do it all here. You can also set your site’s static front page if you don’t want your latest blog posts appearing on the homepage.
Widgets and menus are another crucial part of customizing your WP theme. Widgets are small blocks that add content or features to your site, like a search bar, recent posts, or custom menus. You can add these to widget-ready areas like your sidebar or footer.
To edit widgets, go to ‘Appearance’ > ‘Widgets.’ Menus, on the other hand, help your visitors navigate around your site. To create a new menu, head to ‘Appearance’ > ‘Menus.’ You can add pages, posts, or custom links to your menu from here. You can also change the order of items and create sub-menus.
Step 7: Design Homepage
Designing your homepage is arguably one of the most crucial parts of setting up your website. It’s the first impression visitors get of your site, so you want it to be eye-catching, functional, and reflective of your brand. WordPress offers a range of options to customize your homepage to your liking.
Start by going to ‘Pages’ > ‘Add New’ on your WordPress dashboard. Name your new page ‘Home’ and then click ‘Publish’. While still in ‘Pages,’ create another page titled ‘Blog’ and publish it. This page will display all your blog posts.

To set your newly created ‘Home’ page as the static homepage of your website, go to ‘Settings’ > ‘Reading.’ Under ‘Your homepage displays,’ select the ‘A static page’ option. For the ‘Homepage’ dropdown, select ‘Home,’ and for the ‘Posts page,’ select ‘Blog.’ Don’t forget to save your changes!
Now, let’s customize your homepage layout. The options here may vary depending on your chosen theme. Generally, you can go to ‘Appearance’ > ‘Customize’ and then ‘Homepage Settings’ or ‘Theme Settings.’
Many themes come with a built-in homepage builder or are compatible with popular page builder plugins like Elementor, Beaver Builder, or Divi. These tools allow you to create complex layouts via a simple drag-and-drop interface. You can add sections like a hero banner, about us, services, testimonials, and a contact form.
You can add widgets, blog posts, images, or videos to your homepage. With the right combination of elements and a bit of creativity, you can design a beautiful and functional homepage that showcases your website’s purpose.
Step 9: Create Your First Blog Post
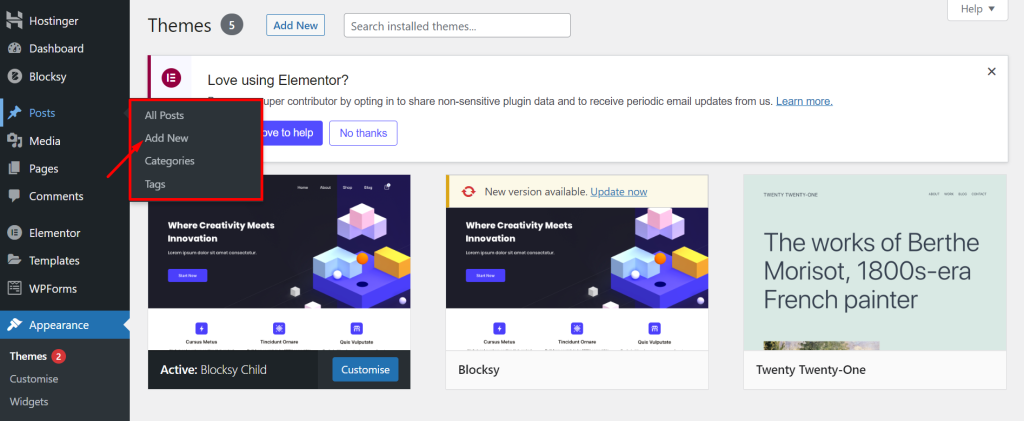
Creating your first blog post in WordPress is easy. Navigate to ‘Posts’ and click on ‘Add New’. This will open up the WordPress editor, where you can write your blog post.
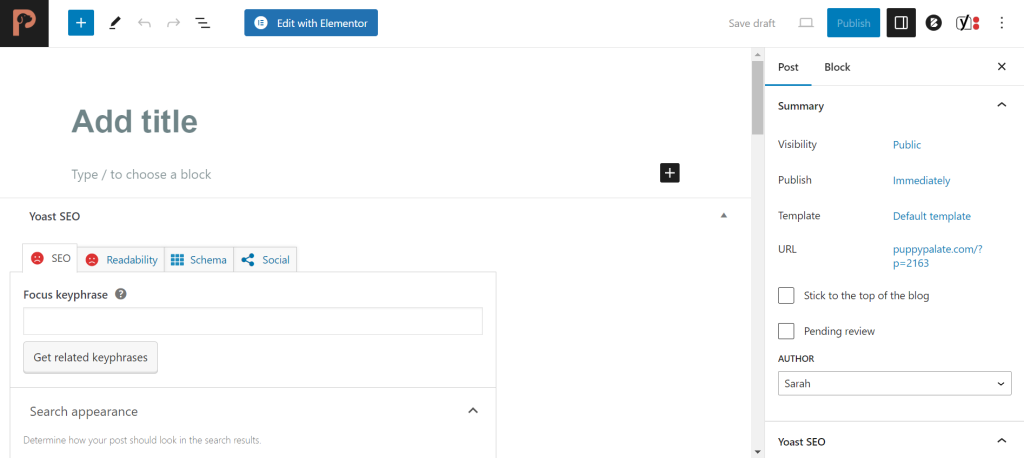
Start by adding a title in the ‘Add Title’ area. Your readers will first see this, so make it catchy and relevant. Below the title is the content area where you can write the body of your blog post. WordPress offers a range of tools and features in the editor to help you format your text, add hyperlinks, or insert images and videos.
On the right, you’ll see the ‘Document’ settings, where you can add categories and tags, set a featured image, and more. Categories and tags help organize your content and make it easier for readers to find related posts. Your featured image is the primary image that represents your post on your website and in search results. Once you’ve written your post, previewed it, and ensured everything looks good, hit the ‘Publish’ button on the top right.
In addition to blog posts, you might also want to add pages to your website. These could include an ‘About Us’ page, a ‘Contact Us’ page, or a ‘Services’ page. To do this, return to your WordPress dashboard, choose ‘Pages,’ and then ‘Add New.’ Add a title, write your content, and publish it to make it live on your site.
Conclusion
Customizing your WordPress theme and adding content is an ongoing process. You might want to experiment with different themes or add more features as your website grows. With the right tools, resources, and patience, you can create a beautiful and functional website that reflects your brand’s personality and helps you achieve your goals. Keep on learning, exploring, and customizing to make the most out of your WordPress site.