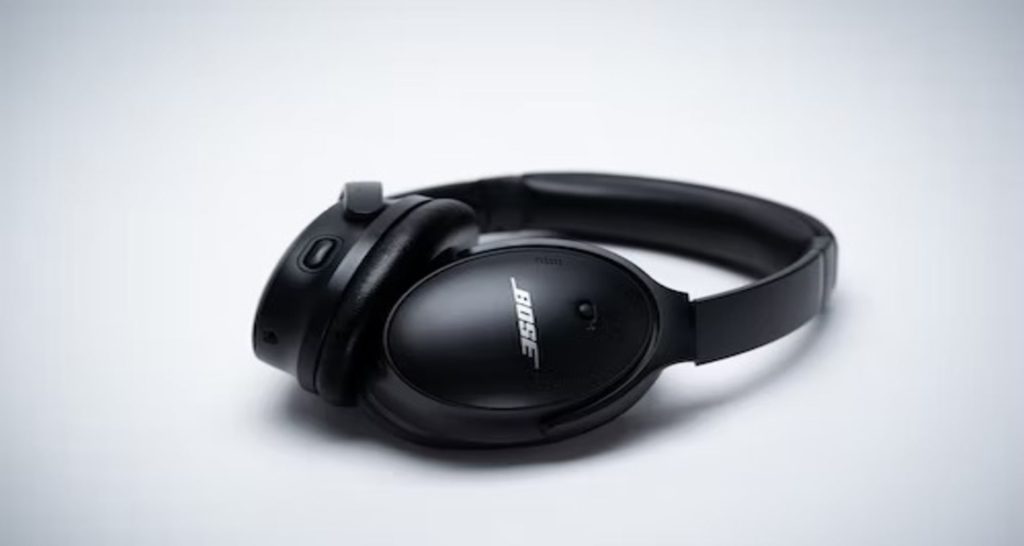
The notable brand Bose is well-known for its incredible noise-canceling technology and very cozy designs. The brand manufactures multifunctional, well-rounded headphones that sound great.
It’s a joy to use these headphones. The Bose Noise Cancelling Headphones 700 is an excellent and effective headset overall, except for a few minor drawbacks. The NCH 700 is attractive, well-built, lightweight, and operable. Bose headphones are pricey because the brand provides the premium quality noise cancellation of any headset on the market.
This article will guide you on connecting your Bose headphones to your devices.

1. How to Connect Bose Headphones to iPhone
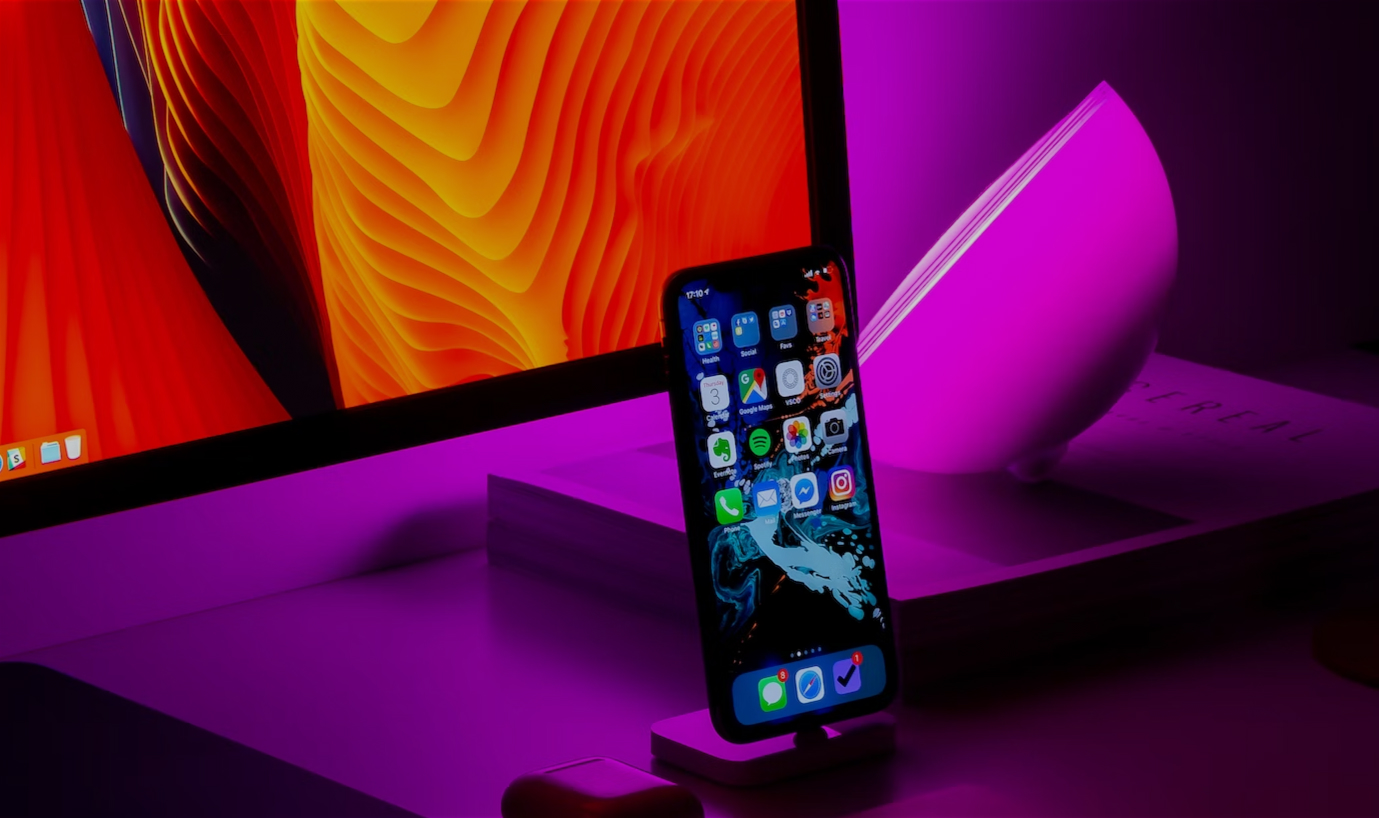
Although many iPhones lack audio ports and headphones are wireless, all Bose wired headsets can connect to iPhones with a standard audio connector like Bluetooth, and the Bose Connect app pair Bose headphones with iPhones. The Bose Connect app installs firmware upgrades that enable new features, reduce audio issues or malfunctions, and streamline the connecting procedure.
- Raise the Bluetooth and power buttons on the headphones. On the right ear cup are a button with power and a Bluetooth icon above it. After you do this, you’ll either hear “Ready to pair” from the headphones or see the Bluetooth indicator glowing blue.

- On your iPhone, click the Settings app icon. This grey gear symbol may be found on one of your Home screens.

- Choose Bluetooth. This may be found in the first set of menu options under “Airplane Mode,” near the Bluetooth symbol.

- Touch the iPhone Switch On Icon next to “Bluetooth” to turn the switch on. You can skip this step if the switch is already green and turned on.

- Tap the Bose headphones in the “My Devices” column. Your headphones may appear under “Bose OE Soundlink” on the list. Either headphone will say “Connected to [HEADPHONES]” or the Bluetooth light will glow completely white.

2. How to Connect Bose Headphones to Mac
Bose headphones are made to pair quickly, especially now that the Bose Connect app is so handy. But Mac OS users may be disappointed to learn that the program is not accessible. Because of this, setup adjustments are necessary to link Bose headphones with a Mac rather than a mobile device. And anyone accustomed to the Bose Connect app may find this confusing.
We’ll also go through how to change the settings on the headphones without using the Bose Connect app.
You may also like this: How To Connect Two Headphones On PC
- Select System Settings by clicking the Apple icon in the top left corner.

- On the left panel, choose Bluetooth.

- Verify Bluetooth is turned on. Turn the button on to turn it on if it is not. The two lists My Devices (previously paired devices) and Nearby Devices are then demonstrated (unpaired devices nearby)

- When the Ready to connect phrase is heard or the Bluetooth indication starts to flash blue, hold the Power/Bluetooth button over the Bluetooth sign on your Bose headphones.

- Find your Bose headphones list of nearby devices, and then click Connect. Wait until your headphones are labeled on the screen with “Connected” next to them.

You can quickly locate your Bose headphones the next time you wish to connect them to your Mac by selecting the Bluetooth icon in the top-right corner of the screen.
Click on the Control Center icon then select Bluetooth if there isn’t a Bluetooth icon in the top right corner of your display.
3. How to Reset Bose Headphones to Factory Settings
Although Bose headphones are among the most trustworthy and trouble-free alternatives available, problems with pairing, sound quality, or other functions may arise from time to time.
If this happens and you can’t figure out how to fix it, you may need to reset your Bose headphones. Like other Bose gadgets, the procedure for resetting Bose wireless headphones is simple and well-thought-out.
- Reset the headphones to their default settings.
- Only if you are experiencing problems with the headphones or if Bose customer support has encouraged you to do so, restore to factory settings.
- Take the headphones out of your device’s Bluetooth list.
- Using the Bose Music app to delete the headphones from your Bose account.
- Hold the Power/Bluetooth switch while you slide it to the right. Press and hold the Action button for 30 seconds while doing both at once.
- The white LED indication activates.
- The LED indicator blinks red after 30 seconds to signal that factory settings are being restored (2 to 3 seconds)
- The LED indicator steadily blinks blue to indicate that the reset is finished. The headphones are now in their pristine, unopened condition.
4. The Best Bose Headphones you can Buy!
1. Bowers & Wilkins – Ear Wireless Bluetooth Headphone
Equipped with Legend drivers, Bose Headphones advance the sound and are designed and adjusted by the same engineers who created the 43mm drivers in the Px7. This is among the highest drivers in our selection of headphones. Moreover, this adaptive noise cancellation automatically reacts to your environment to keep the outside world out of the music and cancels out background noise.
2. Bose QuietComfort – Noise Cancelling Headphones
The TriPort’s acoustic design of Bose QuietComfort provides depth and fullness. Volume-optimized Active EQ maintains balanced performance at any volume, so when the music is turned up, the clarity is maintained, and the bass remains constant. Its Quiet-&-Aware modes let you hear your surroundings and music simultaneously. You may, for example, choose Silent Mode for total noise cancellation or Aware Mode to bring the outside world into the over-ear headphones, among other options.
3. Bose Noise Cancelling Headphones
Thanks to cutting-edge microphone technology that adjusts to loud and windy conditions, your voice will always sound crystal clear on calls.
You can keep your hands free and your head up! You can stay connected without pulling out your phone thanks to easy access to voice assistants like Alexa and Google Assistant for music, navigation, weather, and more, as well as simple touch control on the earcups.
4. Bose SoundLink Around Ear Wireless Headphones II
HD voice and an advanced microphone system of this headphone allow for crystal-clear calls in noisy or windy conditions. Using a lithium-ion rechargeable battery, you may play these headphones for up to 15 hours.
If you experience problems with Bluetooth connectivity, please turn off the feature for a few minutes before turning it back on. Additionally, you may observe a video while connecting to your smartphone by switching between 2 Bluetooth devices.
5. Philips H8506 – Wireless Headphones with Noise Canceling Pro
You can fully immerse yourself in the music using a svelte over-ear fit, which forms a seal that passively blocks outside sounds. Your favorite soundtracks sound their finest with well-tuned 40 mm speakers. Rediscover your favorite tunes by connecting the supplied stereo cable to sources, certified Hi-Res Audio compatible.
These headphones have two simultaneous Bluetooth connections – excellent for multitasking. While watching videos on your laptop while broadcasting from your device, you can hear alerts.
Quick Tips
- Your headphones’ Bluetooth pairing list may be deleted by turning them off, then pressing and holding the power button again for 10 seconds or until the phrase “Bluetooth device list cleared” appears. You may also do this by selecting Forget this Device by touching the information icon (the circle around an “i”) in the Bluetooth list.
- While charging, Bose headphones will not pair.
- Try turning your headphones off for 10 seconds and then turning them back on if you’re having difficulties pairing them. Ensure they are fully charged as well.
You may also like this: How To Fix Broken Headphones
Final Words
Bose is unquestionably a principal player in the audio and sound market. Bose headphone provides the greatest audio technology and manufactures high-end audio systems.
However, the Bose Headphones costs are higher since it produces high-end headphones and makes significant investments in R&D. Also, due to its brand identity, its prices are greater. Don’t hesitate to buy Bose things if you want to. You won’t ever be paid for it.


