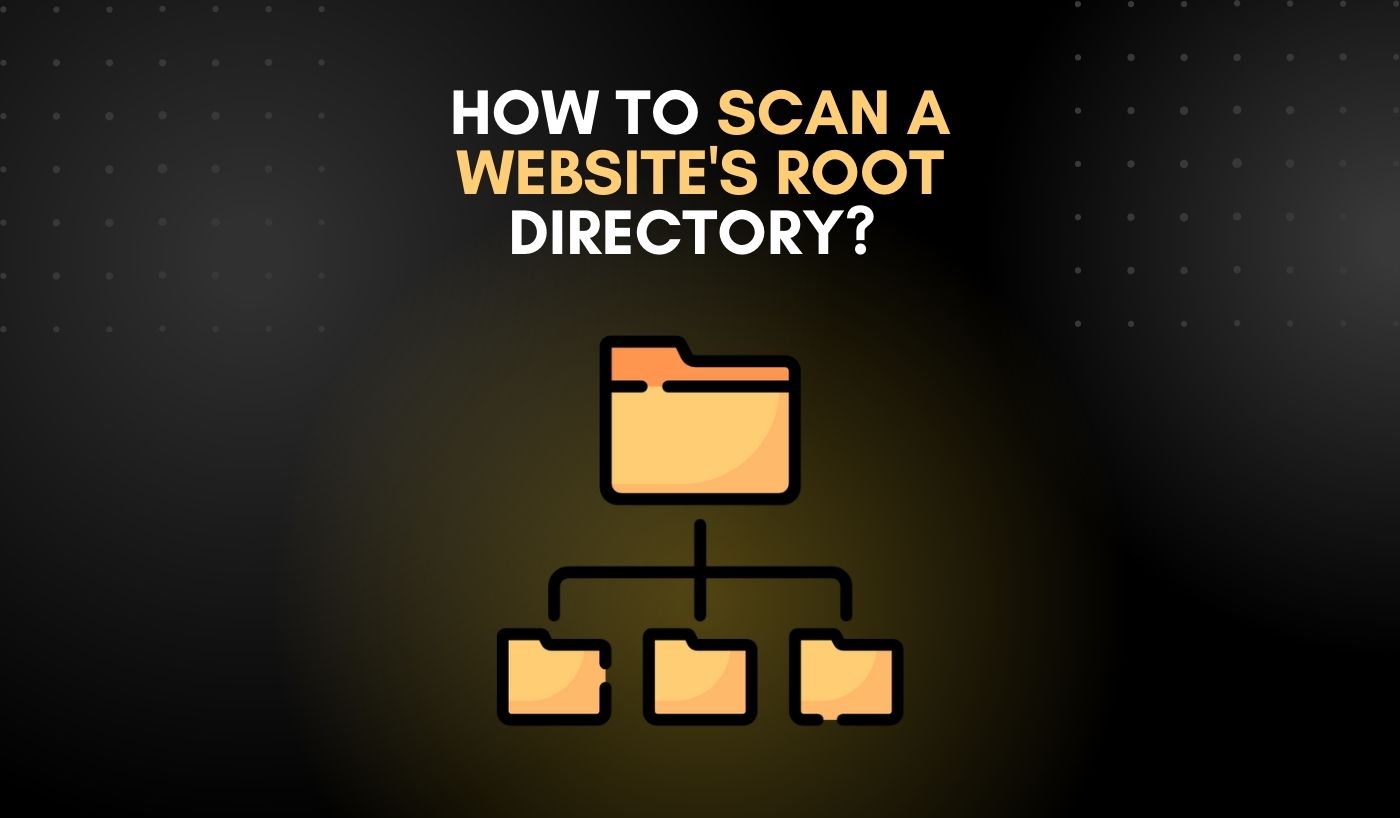
Stepping into website management, you might have heard the term ‘root directory’ floating around. If you’re scratching your head in confusion, don’t worry; you’re not alone. The root directory is essentially the main folder that holds all the files for your website. It’s like the boss of all directories on your site.
You might be wondering, “How do I scan this so-called root directory?” Well, you’re in the right place! This guide will break down the steps for you in a simple and easy-to-understand format.
What is the Root Directory?
Before diving into the steps, let’s quickly go over what a root directory really is. Think of it as the starting point of your website’s file structure. It contains all the files and folders of your website, including HTML, CSS, JavaScript files, images, and more. If you were to open up your website’s folder on your computer, you would first see the root directory.
Why Should You Scan the Root Directory?
Scanning your website’s root directory can better understand your site’s overall structure and organization. It lets you identify potential issues or vulnerabilities, such as outdated files or malicious code. By regularly scanning your root directory, you can ensure that your website is running smoothly and securely.
Step-by-Step Guide to Scan A Website Root Directory
Now, let’s get into scanning a website’s root directory. Remember that these steps may vary slightly depending on the tools or software you are using.
Access Your Website’s Server
The first step is to access your website’s server, where the root directory is located. This can typically be done through a File Transfer Protocol (FTP) client, such as FileZilla or Cyberduck. Also, make sure you have your login credentials on hand.
Locate the Root Directory
To scan a website’s root directory, you must identify its root URL. This is usually the main domain or the top-level path (e.g., http://www.example.com/ or http://www.example.com/wordpress/). Using your FTP client, navigate to this root URL to access the root directory.
Scan Your Root Directory
Upon locating the root directory, the next step is to begin scanning. Multiple scanning tools are available; the choice often depends on personal preference and specific needs. Some popular choices include ‘Nmap,’ ‘Wireshark,’ and ‘Nikto.’ Each of these tools has its own unique features and capabilities.
‘Nmap,’ for instance, is a highly flexible tool that can detect open ports on your website, which could be potential entry points for attackers. ‘Wireshark’ lets you analyze your network traffic, providing insights into what data is being sent and received through your website. ‘Nikto,’ on the other hand, is a web server scanner that can check for dangerous files/CGIs, outdated server software, and other potential issues.
Identifying Key Files and Folders
Once the scan is complete, it’s important to carefully review the results and identify any key files or folders that may need attention. This could include outdated software versions, suspicious code injections, or exposed sensitive information.
Analyzing the Scan Results
Once the scan is complete, it’s time to review the results. Look out for any potential issues or vulnerabilities. Some tools also provide recommendations for addressing these issues, which can be handy. If you’re unsure about any results, it’s always a good idea to seek assistance from an experienced web developer or security expert.
Dealing with Potential Issues in the Root Directory
Now, we’ve come to the point of dealing with potential issues you might have found within your website’s root directory. Don’t freak out! Here’s a step-by-step guide to help you through the process.
Step 1: Prioritize the Issues
Start by ranking the issues you’ve found according to their potential harm. Issues that could pose a security threat or lead to serious functionality problems should be at your list.
Step 2: Research the Issues
After you’ve prioritized, you’ll want to do some research to understand each issue better. Use online resources forums or consult with experts to gather more information.
Step 3: Develop a Plan of Action
Once you understand what’s happening, create a plan to address each issue. This could involve updating software, removing suspicious files, or changing permissions.
Step 4: Implement the Solutions
Now it’s time to get to work. Depending on the issue, you may need to access your FTP client again to make the necessary changes to your website’s files. Always ensure you have a recent backup before making any major changes.
Step 5: Verify the Fixes
After implementing your solutions, you’ll want to re-scan your root directory to ensure the fixes have been successful. If the same issues reappear, you may need to reassess your strategy.
Step 6: Conduct Regular Scans
Finally, make it a point to conduct regular scans of your website’s root directory, keeping an eye out for any new or recurring issues. This will help you maintain a healthy, functional website.
How to Get the Root Directory in Command Prompt?
The “cd” command is used to navigate to the root directory in any location. It allows you to switch to the top-level directory, regardless of location, easily.
For instance, if you are at “C: Users username” and you enter the “cd” command, you will be instantly taken to the root directory, which is the “C: driveletter”.
This command will navigate you to the specific drive letter that you specify, allowing you to access and explore its contents effortlessly. With just a few simple keystrokes, you can seamlessly navigate through your files and folders, saving you time and effort in your computing tasks.
Conclusion
Scanning your website’s root directory is essential to maintaining a secure and functional website. By following the steps outlined in this guide, you can easily scan and identify any potential issues or vulnerabilities within your site’s root directory. Remember to regularly conduct scans and address any issues immediately to ensure the smooth operation of your website and protect it from potential threats.
Need any help with website maintenance? Let our experienced web developers lend a hand. Have a look at our website maintenance service page.


